Easy Homemade Bread Recipe
Introduction
This Easy Homemade Bread Recipe is perfect for beginners and anyone who loves the aroma and taste of freshly baked bread. It requires only a few basic ingredients and minimal kneading, yet yields a loaf with a soft, fluffy interior and a golden-brown crust.
Why You’ll Love This Recipe
- Simple Ingredients: You likely already have everything you need in your pantry.
- Novice-Friendly: The straightforward instructions and short kneading time make this recipe accessible to bakers of all skill levels.
- Delicious Results: The bread has a wonderful texture and flavor that rivals bakery-bought loaves.
- Versatile: Enjoy it toasted with butter and jam, as a sandwich base, or alongside soups and stews.
Ingredients You’ll Need
- 3 cups all-purpose flour
- 1 packet (2 ¼ teaspoons) active dry yeast
- 1 ½ teaspoons salt
- 1 tablespoon sugar
- 1 ¼ cups warm water (105-115°F)
- 2 tablespoons olive oil (plus extra for greasing)
How to Make Easy Homemade Bread
Step-by-Step Instructions
-
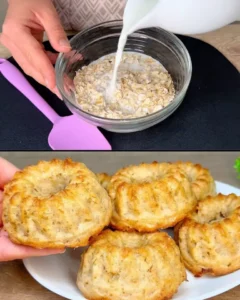
Activate the Yeast: In a small bowl, combine the warm water, sugar, and yeast. Stir gently and let stand for 5-10 minutes, or until the mixture becomes frothy. This indicates that the yeast is active and ready to use.
-
Combine Dry Ingredients: In a large bowl, whisk together the flour and salt.
-
Make the Dough: Add the frothy yeast mixture and olive oil to the dry ingredients. Stir until a dough forms.
-
Knead the Dough: Transfer the dough to a lightly floured surface and knead for 5-7 minutes, or until smooth and elastic. If the dough is too sticky, add a little more flour, a tablespoon at a time.
-
First Rise: Place the dough in a lightly greased bowl, cover with plastic wrap, and let rise in a warm, draft-free place until doubled in size, about 1-1 ½ hours.
-
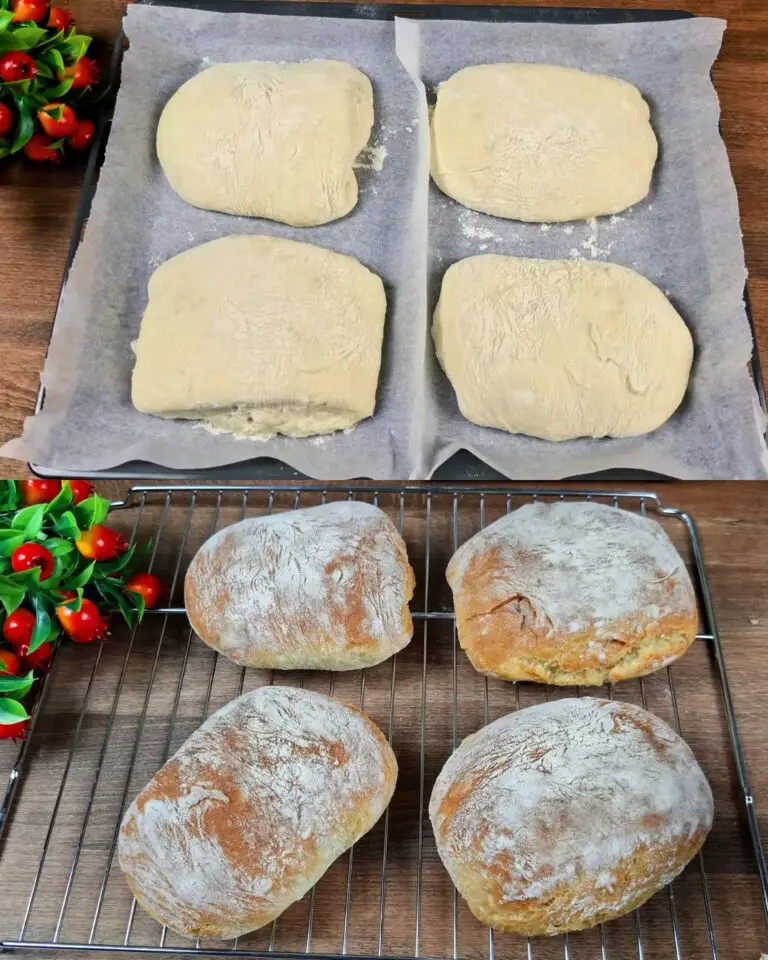
Shape the Dough: Punch down the dough to release the air. Shape it into a loaf and place it in a greased 9×5 inch loaf pan.
-
Second Rise: Cover the loaf loosely with plastic wrap and let rise again until doubled in size, about 30-45 minutes.
-
Preheat Oven: Preheat your oven to 375°F (190°C) during the second rise.
-
Bake: Bake the bread for 30-35 minutes, or until golden brown and it sounds hollow when tapped on the bottom.
-
Cool & Enjoy: Remove the bread from the pan and let it cool completely on a wire rack before slicing and serving.
Helpful Tips:
- Water Temperature is Key: Make sure your water is between 105-115°F. Too hot will kill the yeast, too cold won’t activate it.
- Don’t Overknead: Knead until the dough is smooth and elastic, but avoid overworking it, which can lead to a tough loaf.
- Warm Rising Spot: A slightly warm environment is ideal for the dough to rise. You can place the bowl in a sunny spot or near a warm (but not hot) appliance.
- Check for Doneness: Tap the bottom of the loaf. If it sounds hollow, it’s done. You can also use an instant-read thermometer to check the internal temperature; it should be around 190-200°F.
Details:
- Prep Time: 20 minutes
- Rise Time: 1 ½ – 2 hours
- Cook Time: 30-35 minutes
- Total Time: Approximately 2 hours 20 minutes – 2 hours 50 minutes
- Yield: 1 loaf
- Category: Bread
- Method: Baking
- Cuisine: International
- Diet: Vegetarian
Notes
- Flour Variations: Experiment with different flours, like whole wheat or bread flour, for a unique flavor and texture.
- Add-Ins: Get creative! Try adding herbs, seeds, or chopped nuts to the dough for extra flavor and texture.
- Storage: Store leftover bread in an airtight container at room temperature for up to 3 days or freeze for longer.
Frequently Asked Questions
- Can I use a stand mixer? Absolutely! Use the dough hook attachment and knead on low speed for 5-7 minutes.
- My dough didn’t rise. What happened? The yeast may be old or the water may have been too hot. Make sure to use fresh yeast and check the water temperature.
- How do I get a crispy crust? Place a small pan of water on the bottom rack of the oven while baking. The steam will help create a crispier crust.
Conclusion
Baking your own bread is incredibly rewarding, and this Easy Homemade Bread Recipe proves that it doesn’t have to be complicated. With a little patience and these simple steps, you’ll be enjoying the warm, comforting aroma and taste of fresh bread in no time!